Easter Choc Wrap Craft
What you will need:
- the wrapper pdf page
- thin gloss photo paper (115gsm)
- colour printer and computer
- scissors
- craft glue with a fine application spout
- paper crimper (optional)
- 2-finger KITKATS
Steps to print and wrap your 2-finger KITKAT (see images).
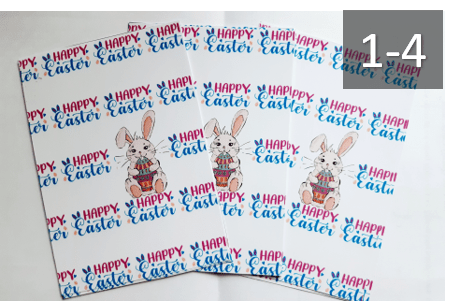
1.Scale the wrapper pdf page to FIT to the page.
2.Choose options: photo paper, normal or best colour.
3.Print the page.
4.Cut on the dotted cutting lines, to produce 4 wrappers.
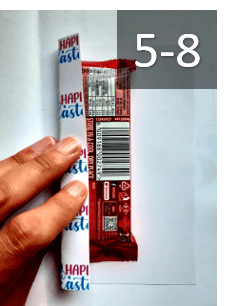
5.Lay the KITKAT facing down in the wrapper closer to the long edge which is nearer to the picture.
6.Ensure the front of the wrapper will lay in the middle of the KITKAT.
7.Bend about 1cm of the edge of the wrapper over the back of the KITKAT, to form a crease.
8.Once your crease is formed, apply a long stripe of craft glue to the 1cm crease.
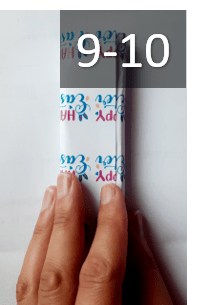
9.This may take a bit of practise, but take the other end of the wrapper over the KITKAT, align and press it to the glue on the 1cm crease.
10.Turn the KITKAT over and make ensure the front it centre.
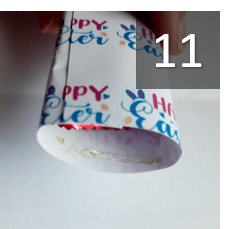
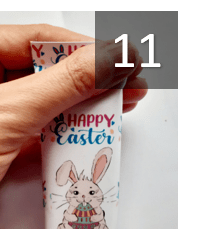
11.Apply a stripe of glue on both ends of the wrapper, then with your fingers press both ends closed, ensuring both ends are flattened neatly.
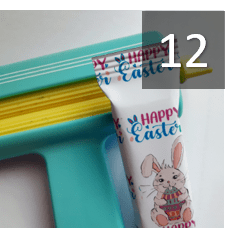
12.Trim the ends if it needed and the crimp if desired.