Sewing a Draw String Bag For Kids
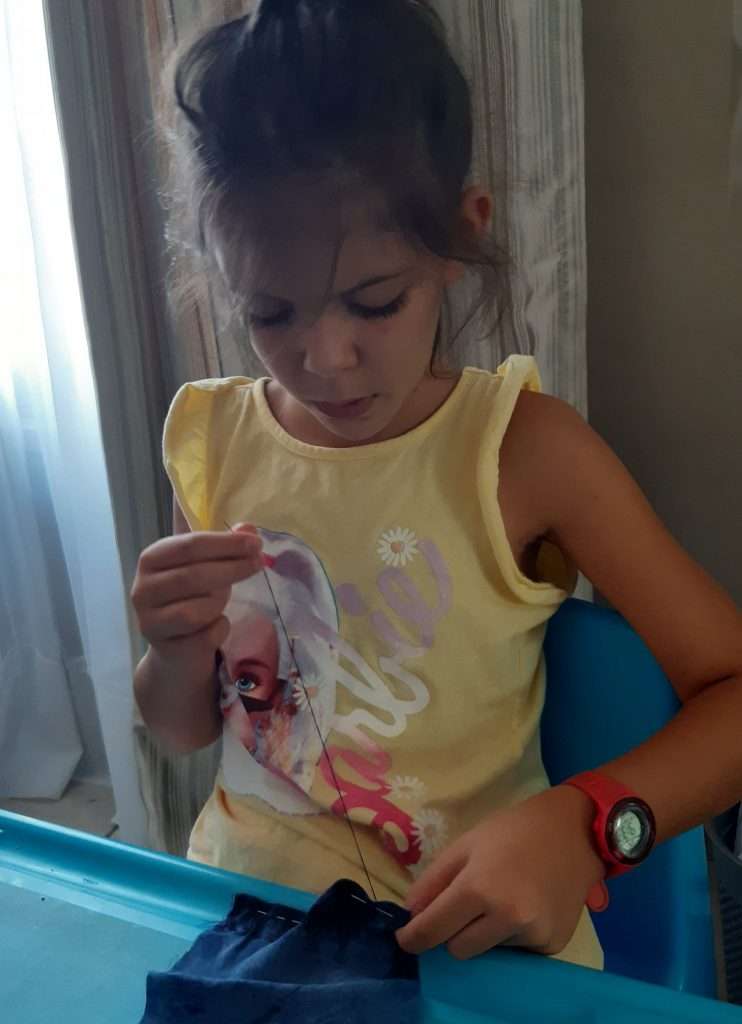
Sewing can be an intimidating new skill to teach young children. With pointy needles and the need to have super fine motor skills, can cause any parent to not even go there! I have been there; I wondered if I could really teach my kids to handle a needle and thread it, never mind do one a stitch without tears, and blood gushing out from one of their little fingers.
As you can see, that was my wild imagination running with me. It held me back from sewing with them for a while, but one day I voiced the idea of sewing and my eldest did not stop nagging from then on. So, to help you to get started, you will find at the end of this activity tutorial, a few tips with minimal stress. It is really simple. Baby steps, and patience.
What you will need to sew your draw string bag
Here is the list of items you will need to get started:
- string
- paper clip or safety pin
- pins
- piece of material (5 x 9 inches for a very small bag)
- needle and cotton
- a big bead with a wide eye for the string (optional: for decoration purposes)

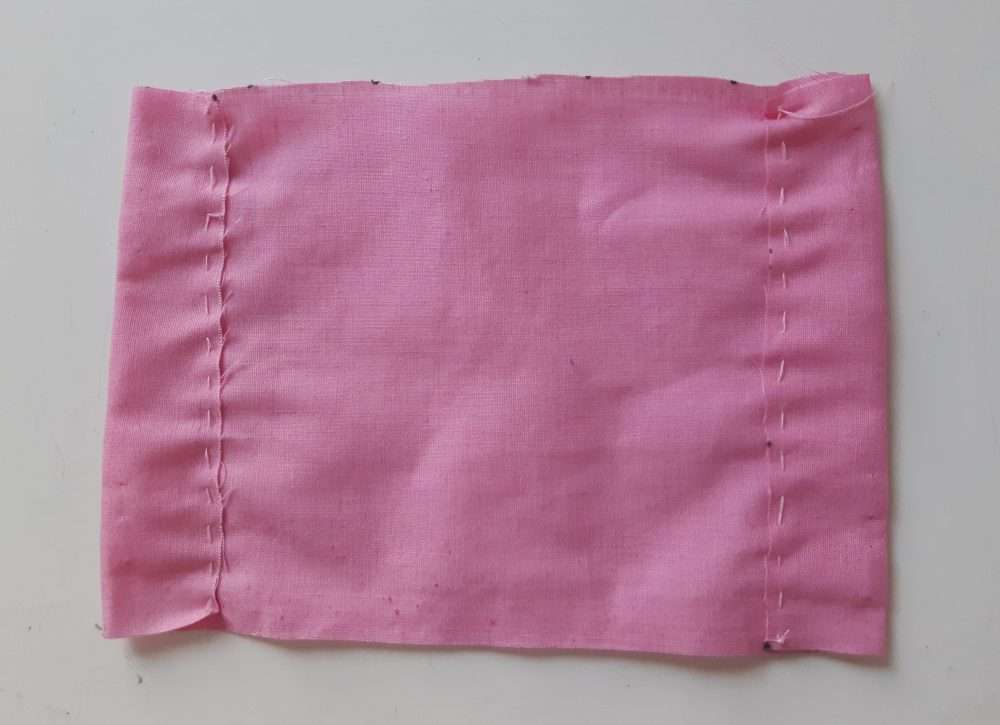
1. Preparing your material
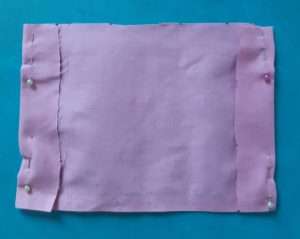
Cut a piece of material about 5 x 9 inches big for a small bag. You will be folding the material’s longer size (length) in half to create the bag. Test the size by marking the dimensions and folding it, to get an idea of the size before you cut it. If you want a longer or wider bag, adjust the dimensions to your liking.
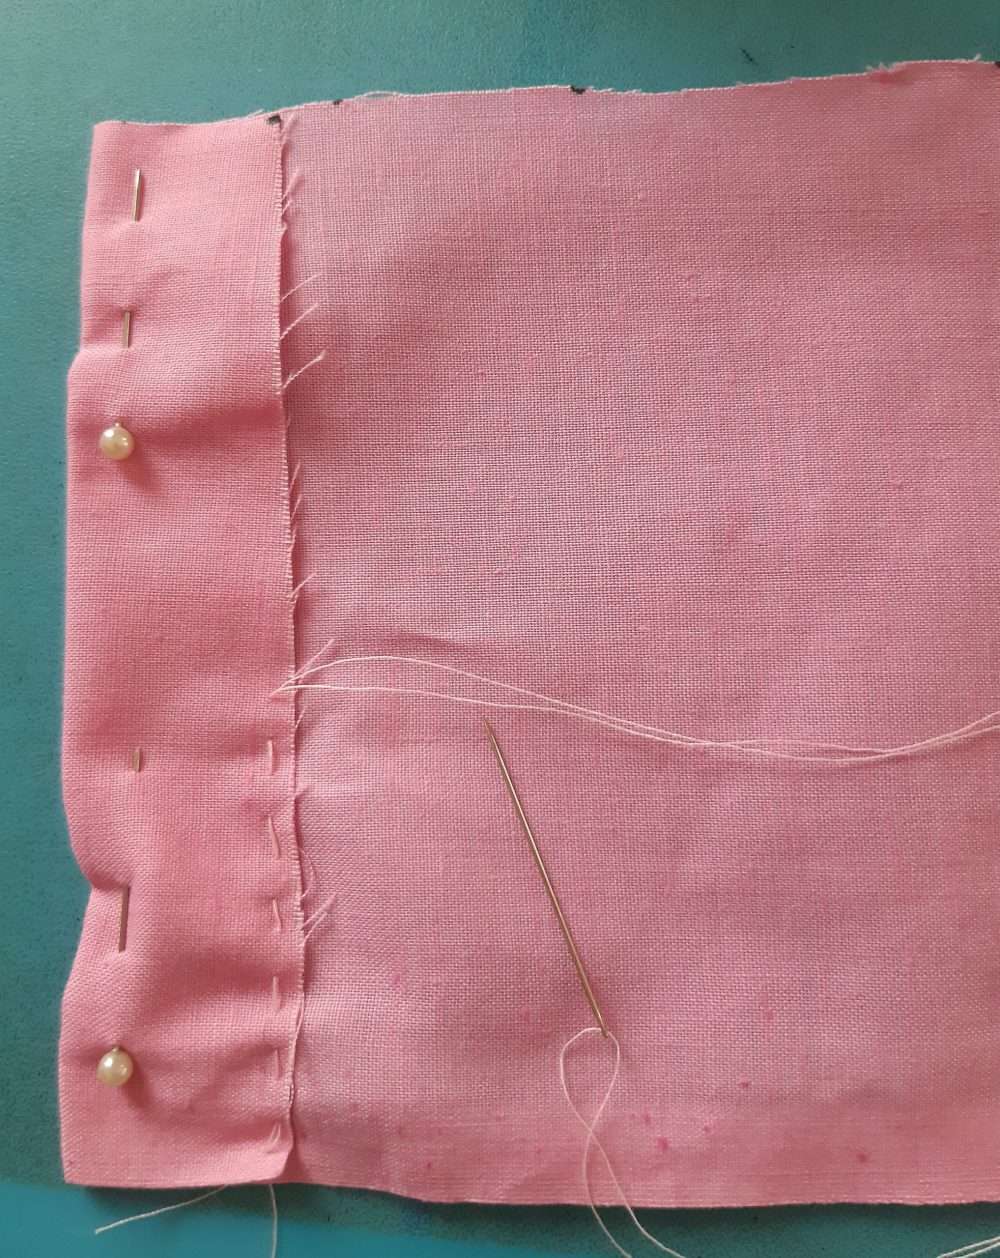
Once you have cut the material to the desired size, fold and pin down both short sides (width) about 1 inch wide. Using pins will help the material to not move while your child is sewing.

2. Sew the sides of the bag
Once both sides are pinned down, sew the sides down with a simple running stitch. These sewn sides will later be used for a draw-string to run through.
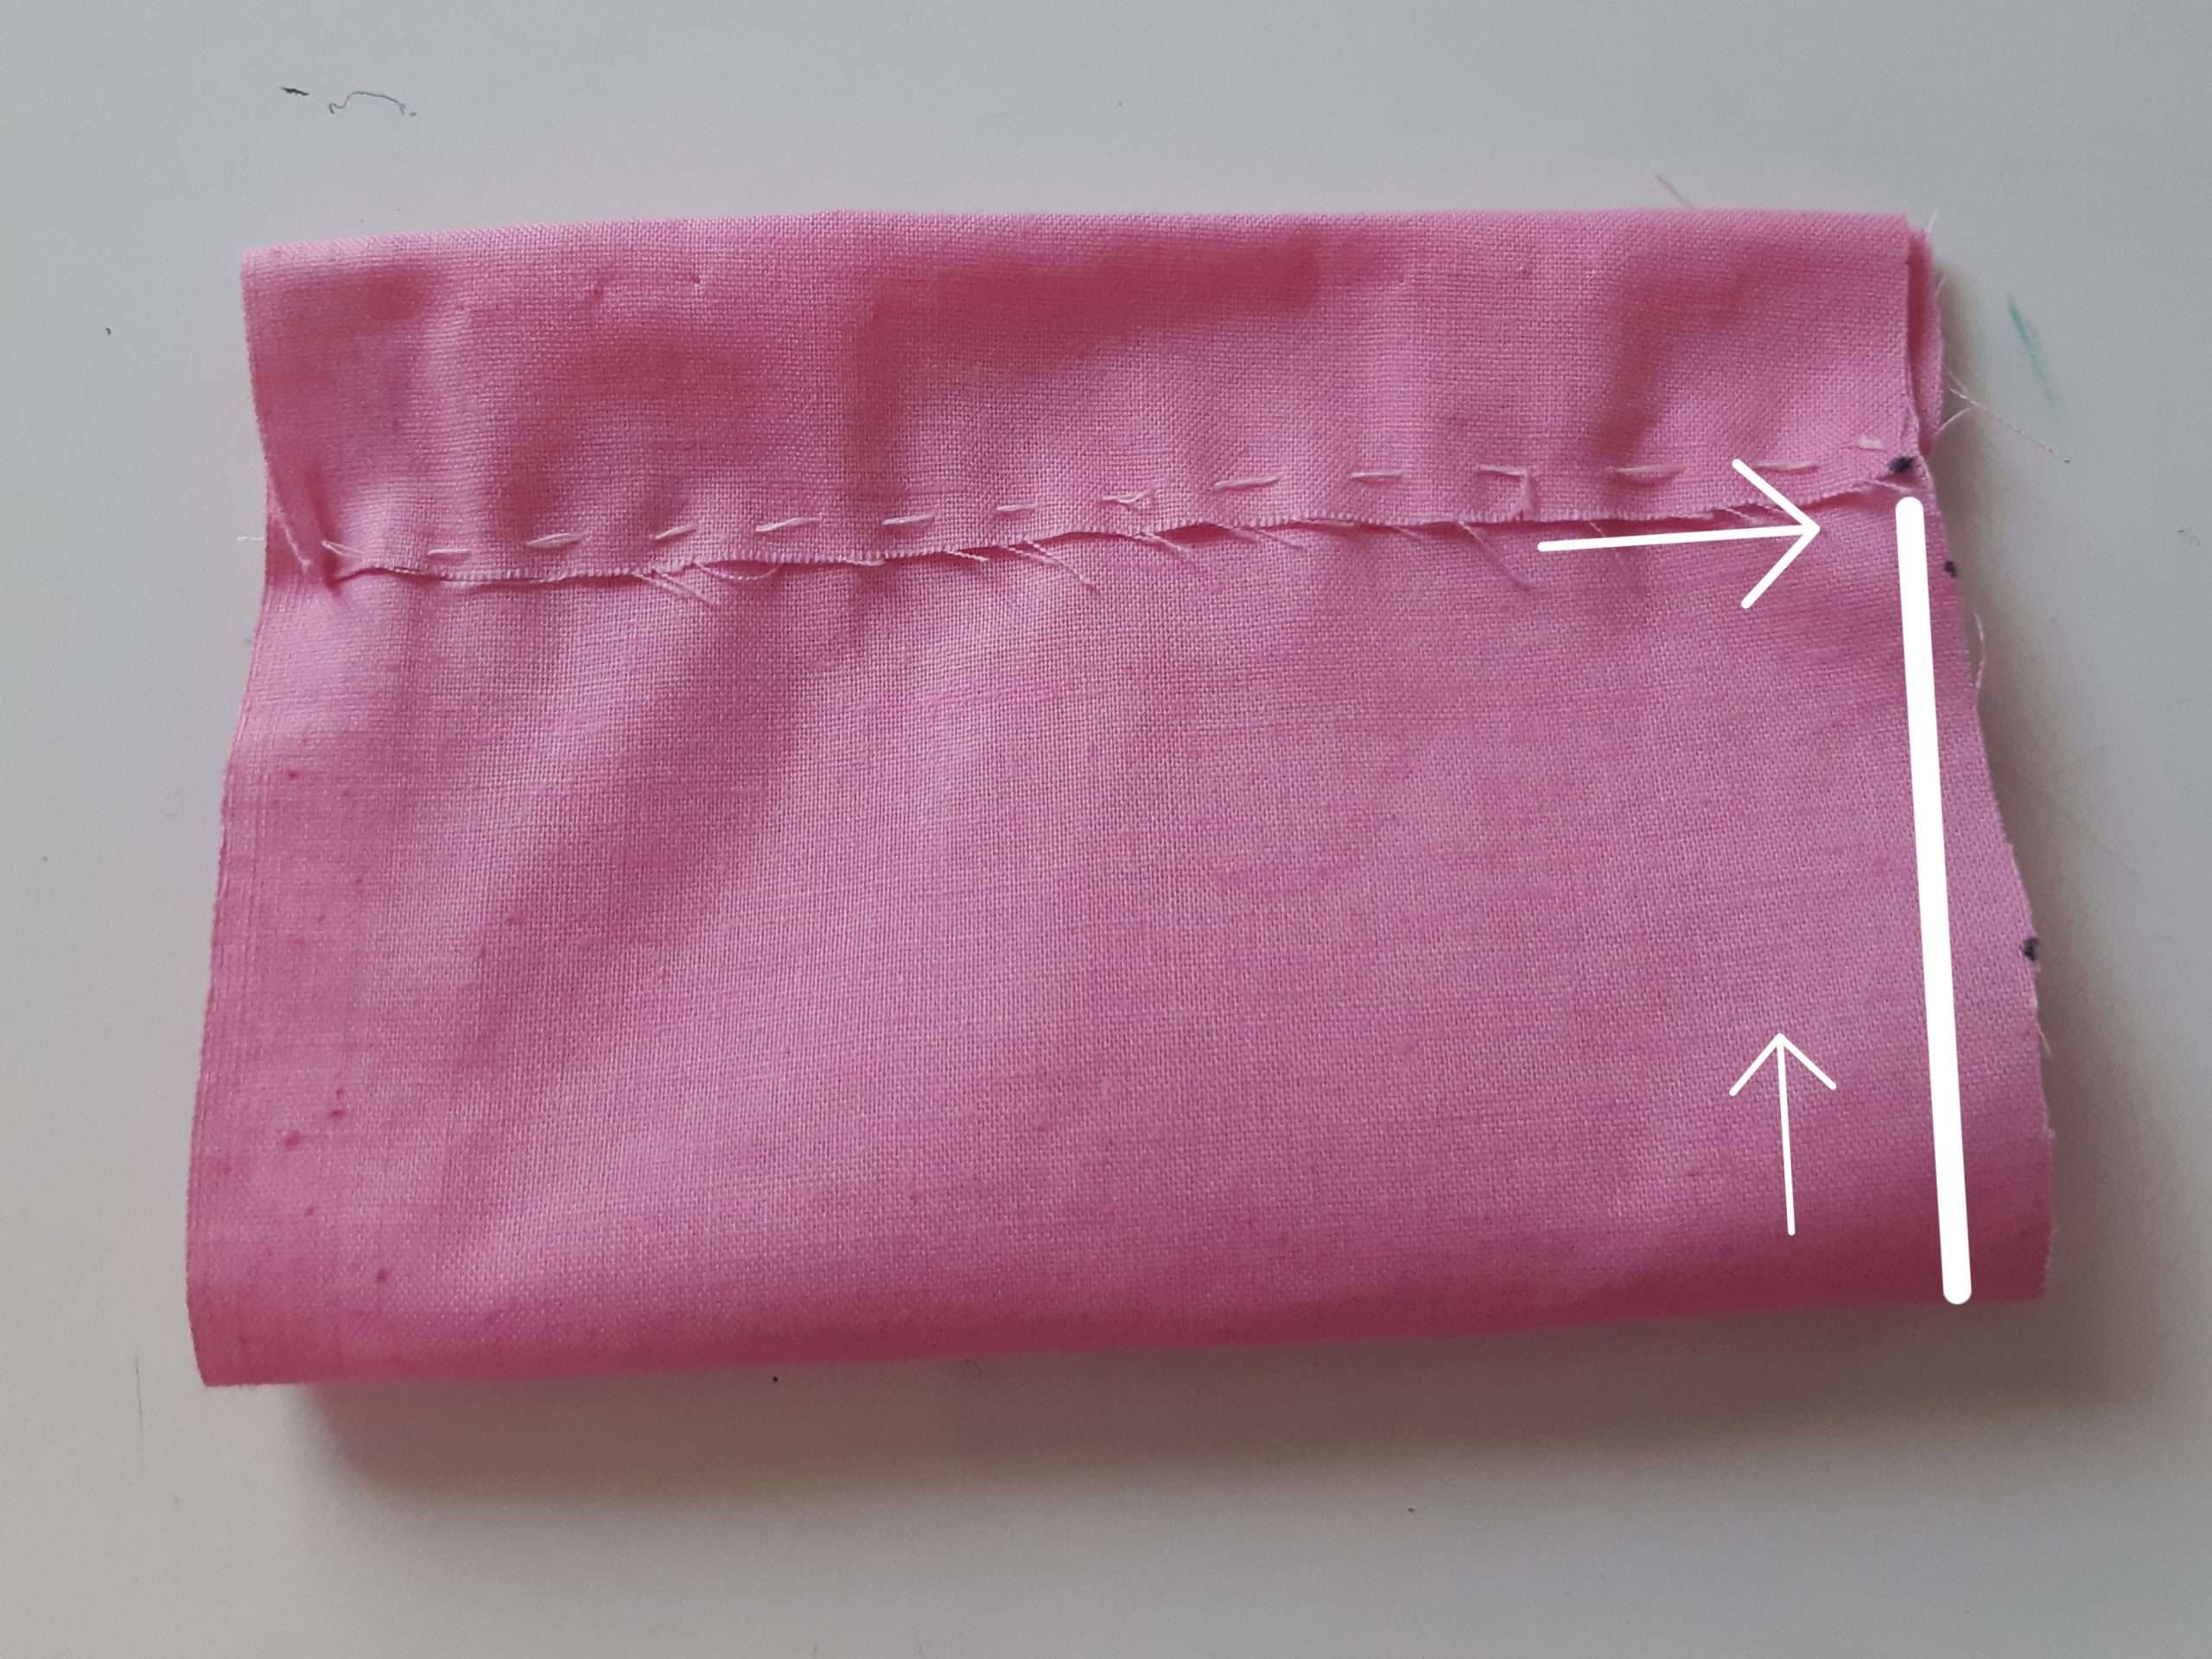
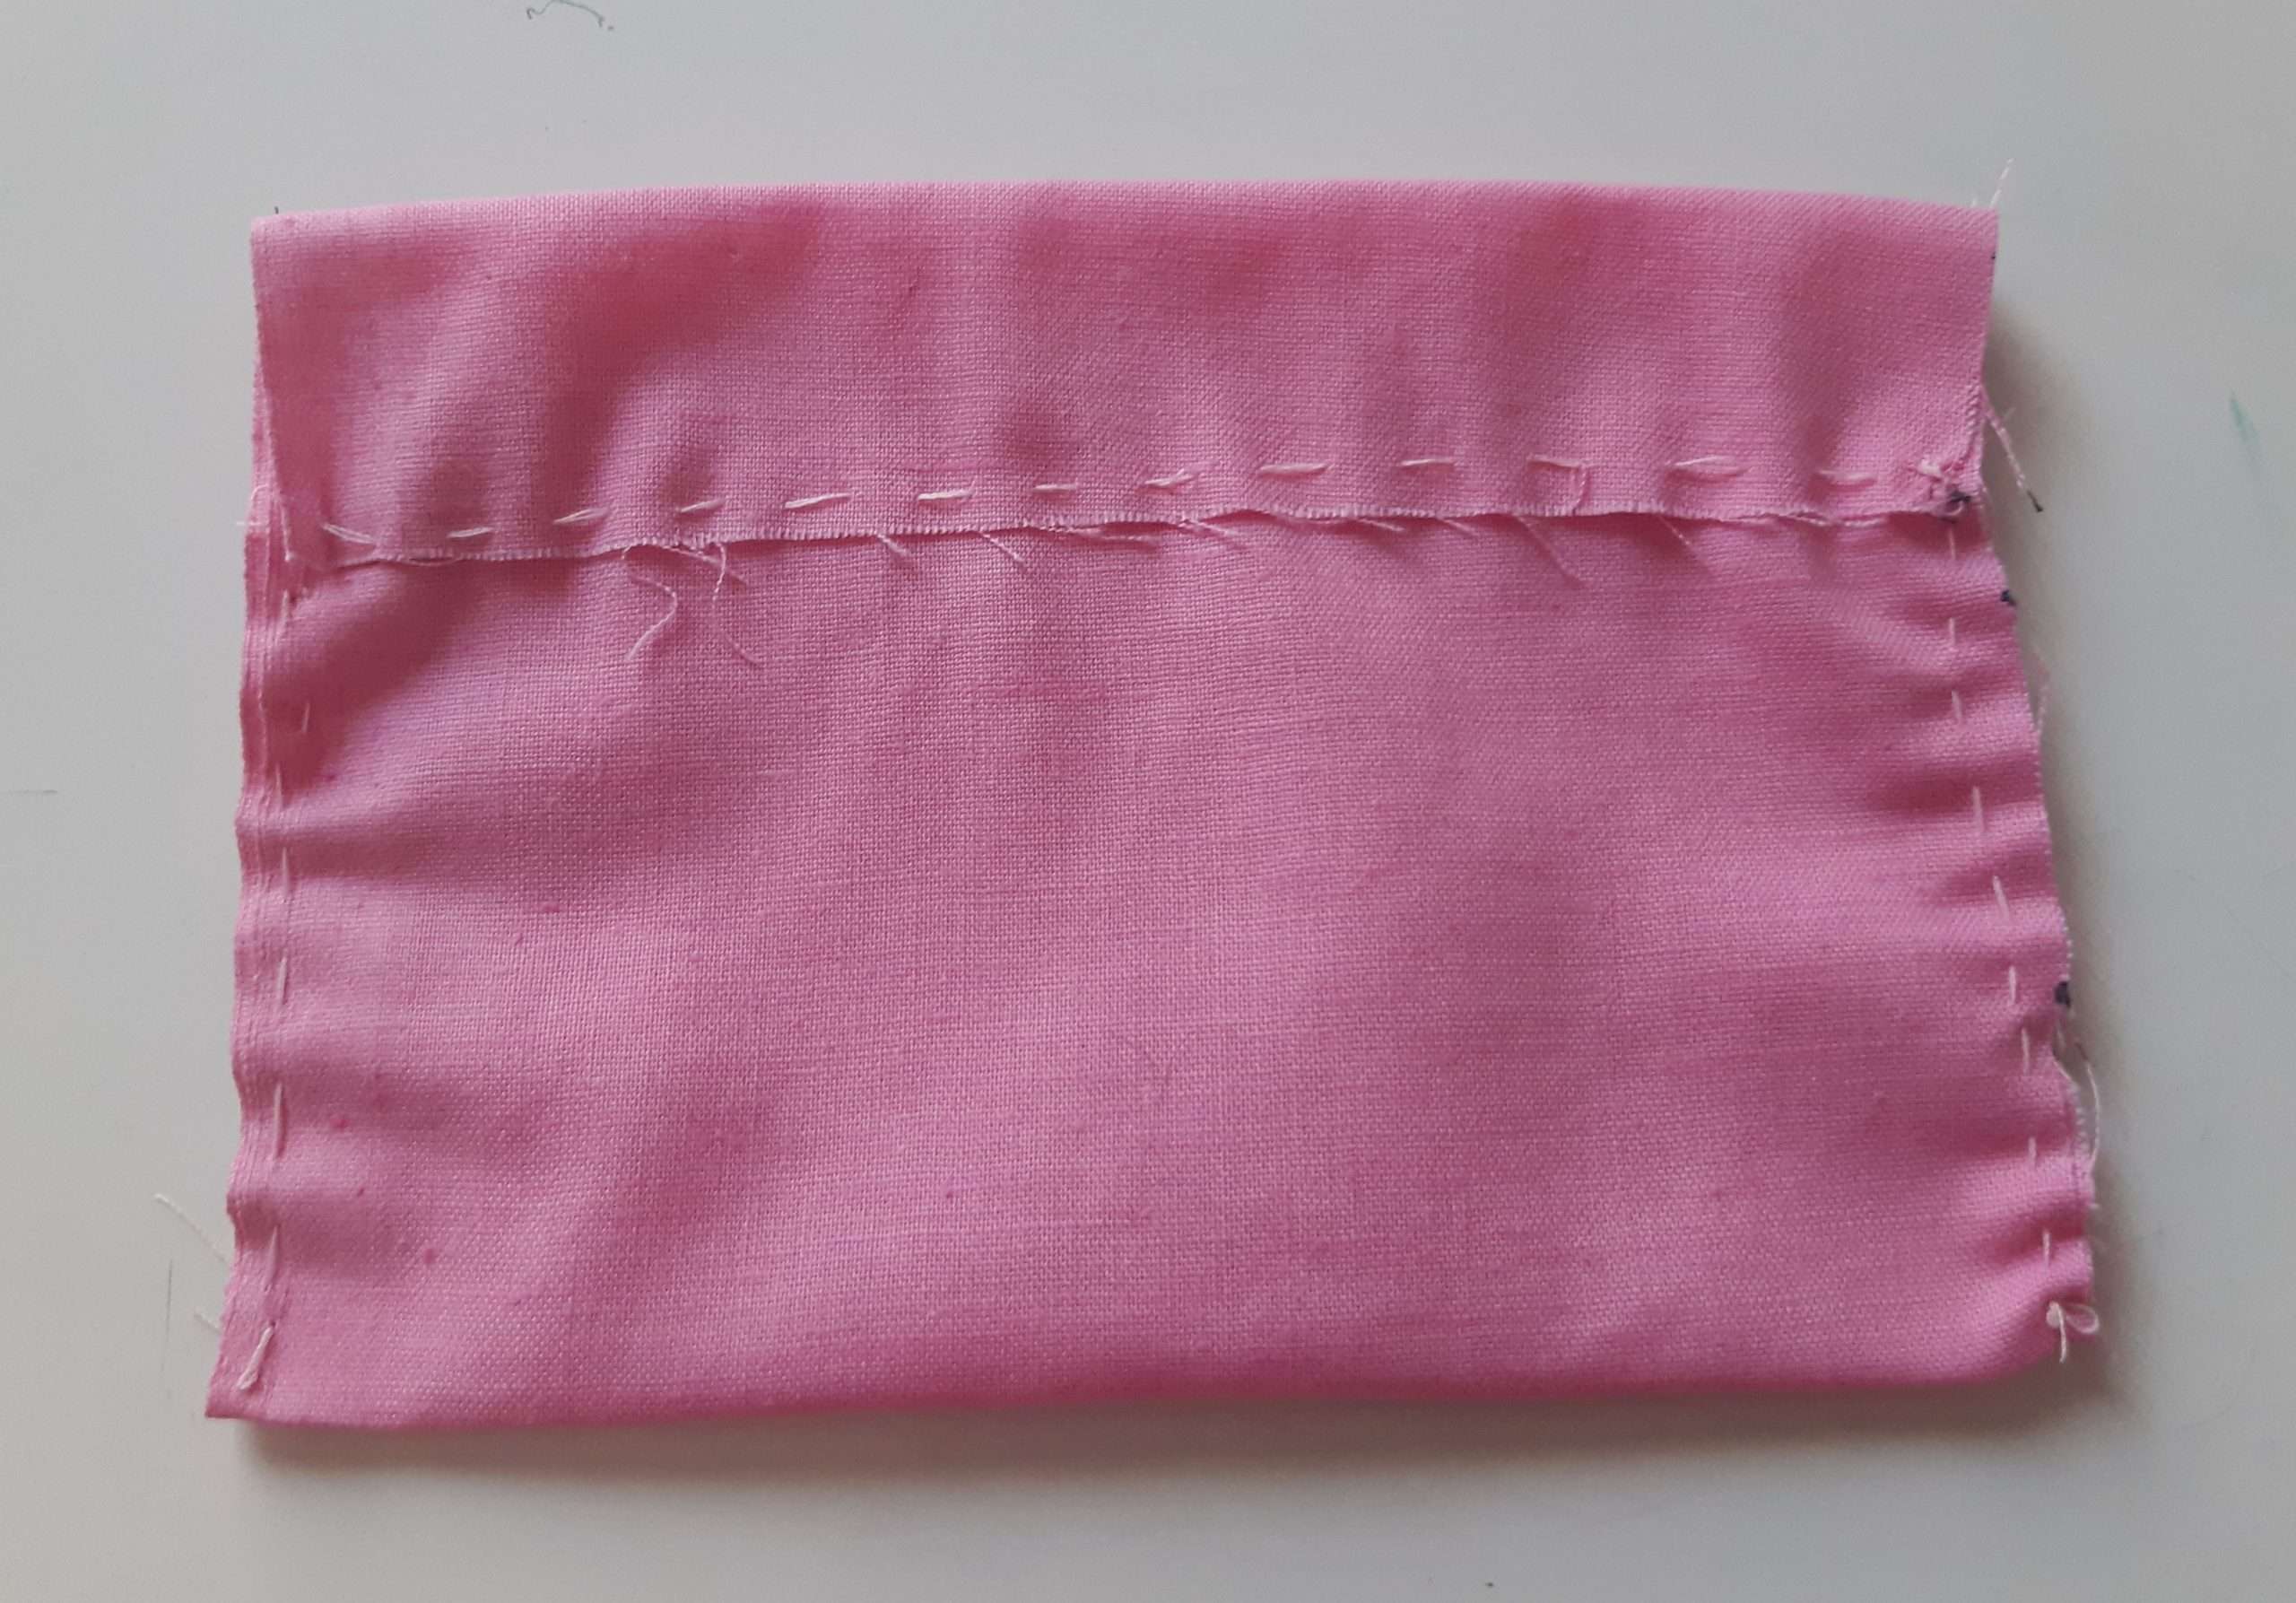
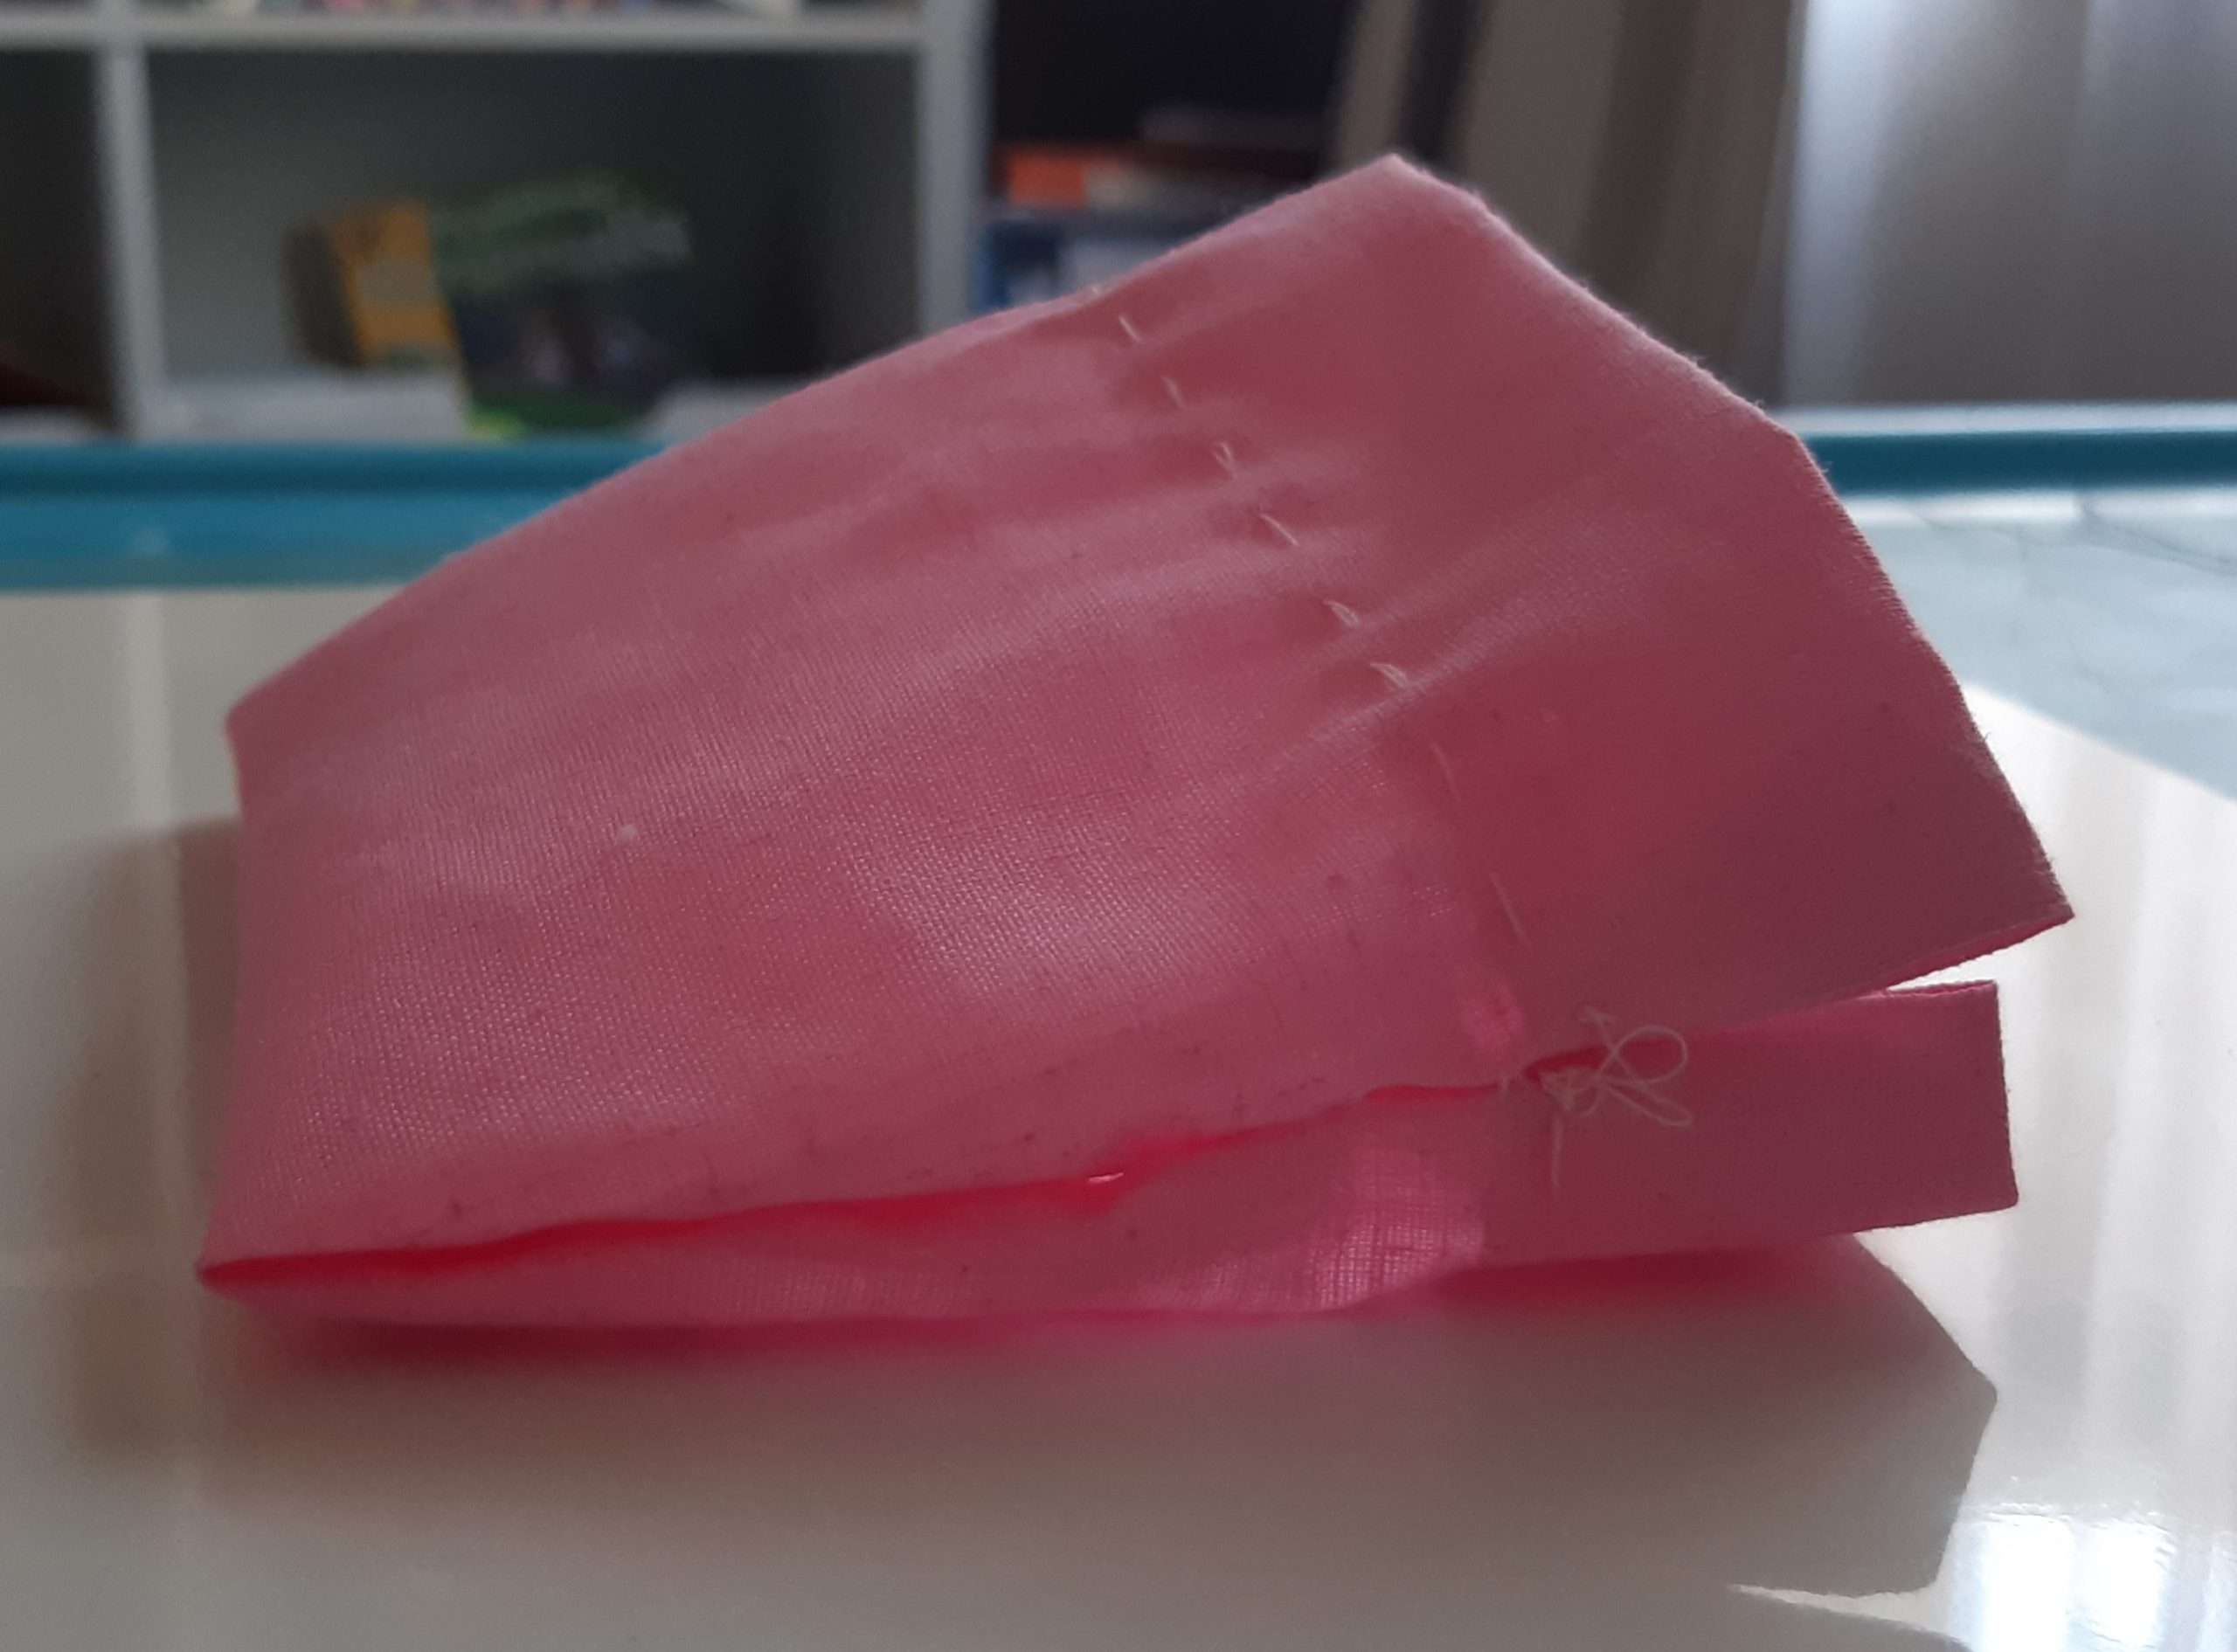
3. Fold and close the material to form the bag
Fold the material inside-out (the visible sewn parts must be on the outside, not on the inside). The sewn sides must be positioned to the top. Now sew both sides on the left and right closed, but not all the way up, ensuring that the draw-string holes remain open.
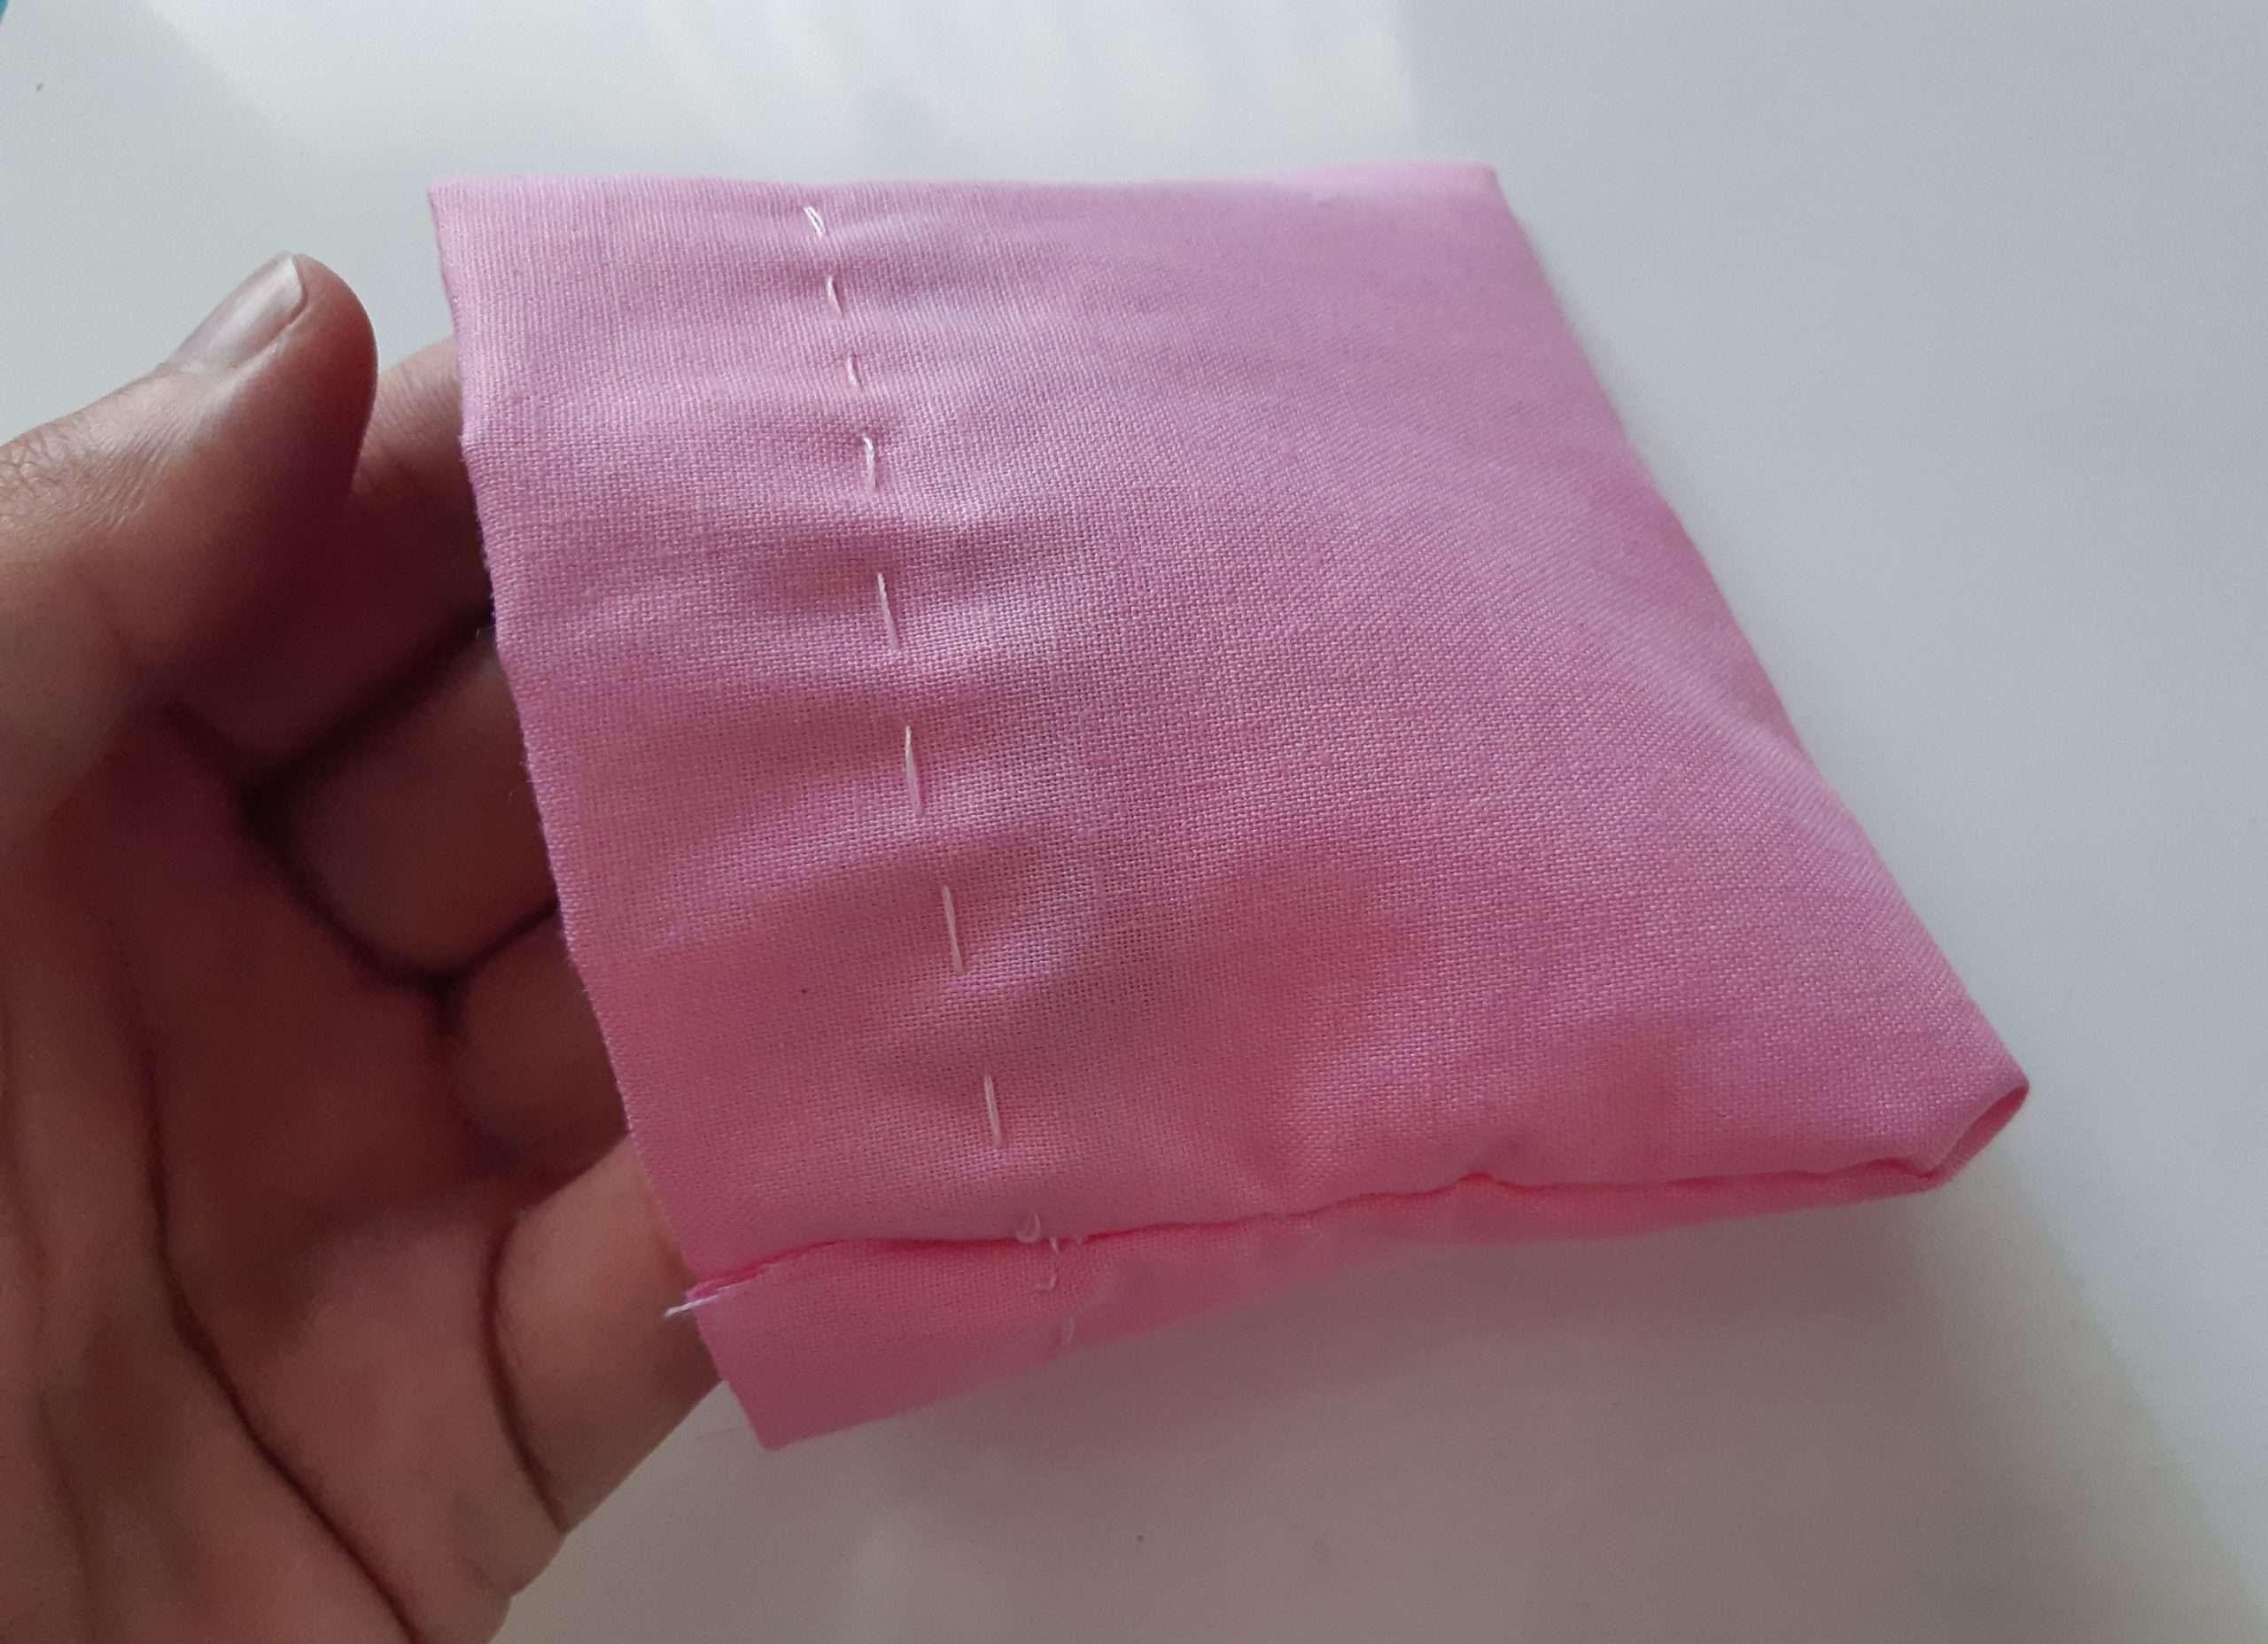
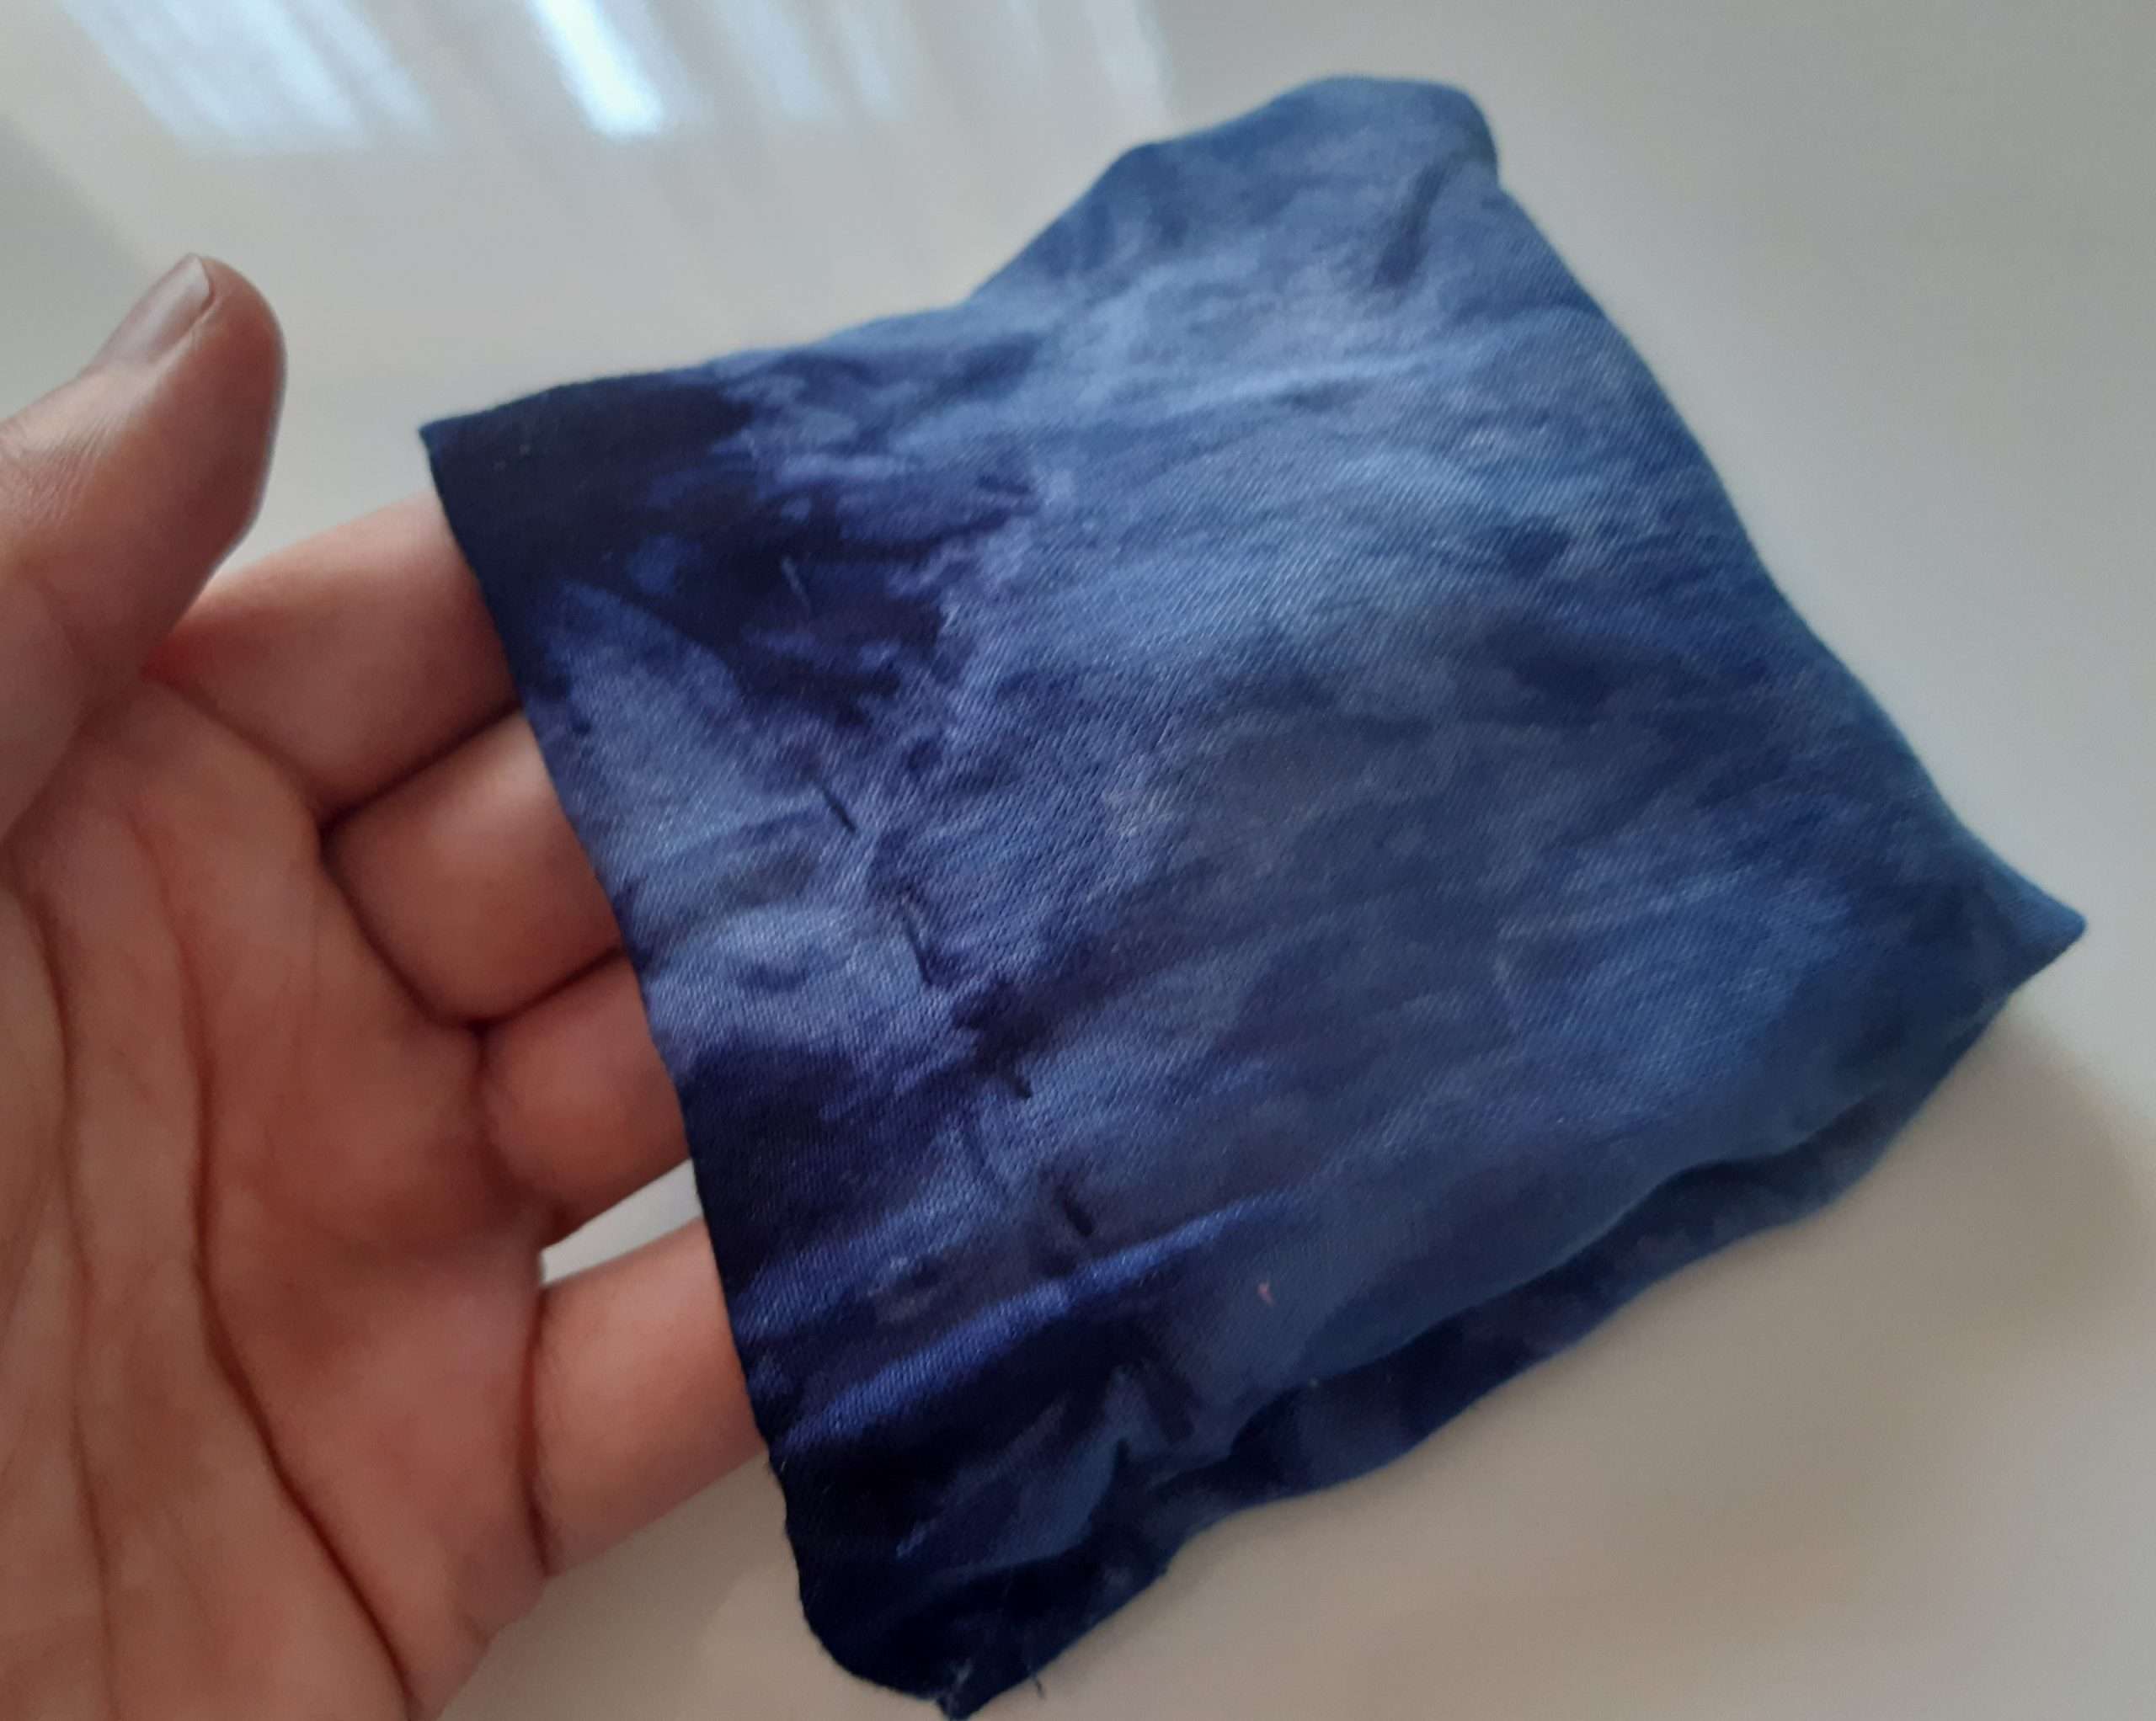
Once both sides are sewn up to the draw-string holes, and you are sure that each line that you have sewn is ended and closed properly (it will not open up when pulled), you can turn the bag the right side out. The stitching will now be on the inside of the bag.
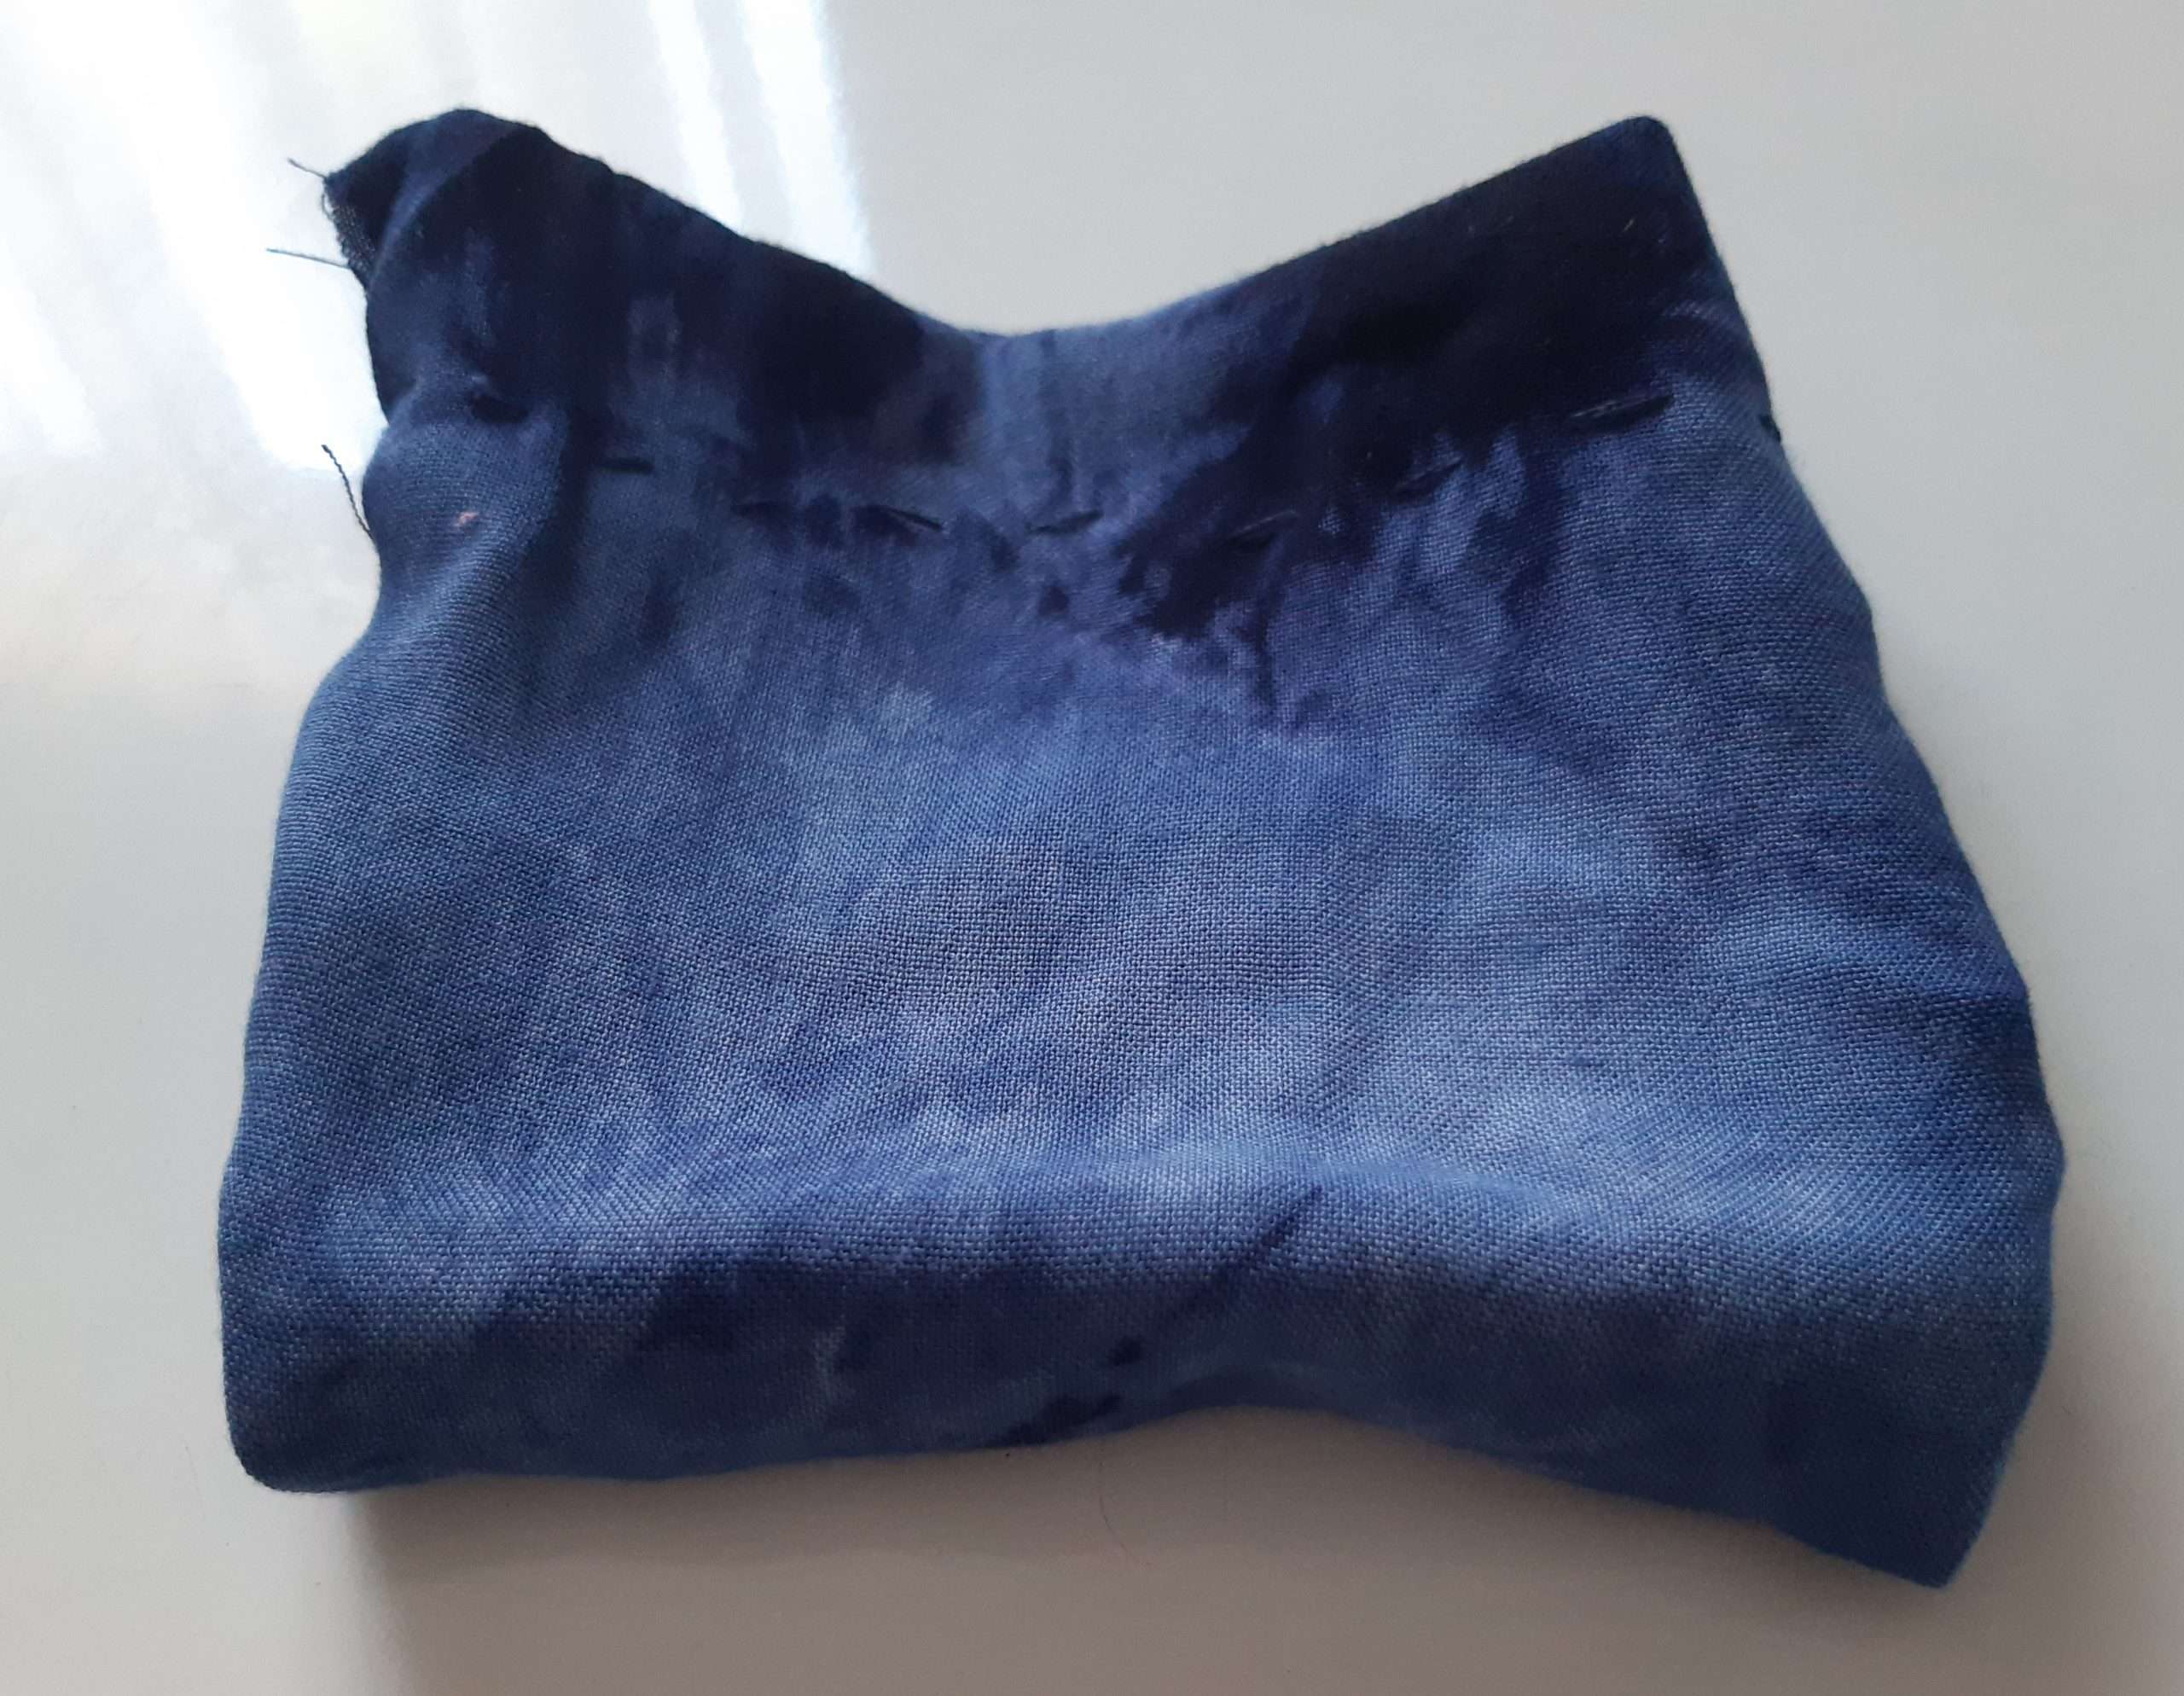
4. Finish off the bag
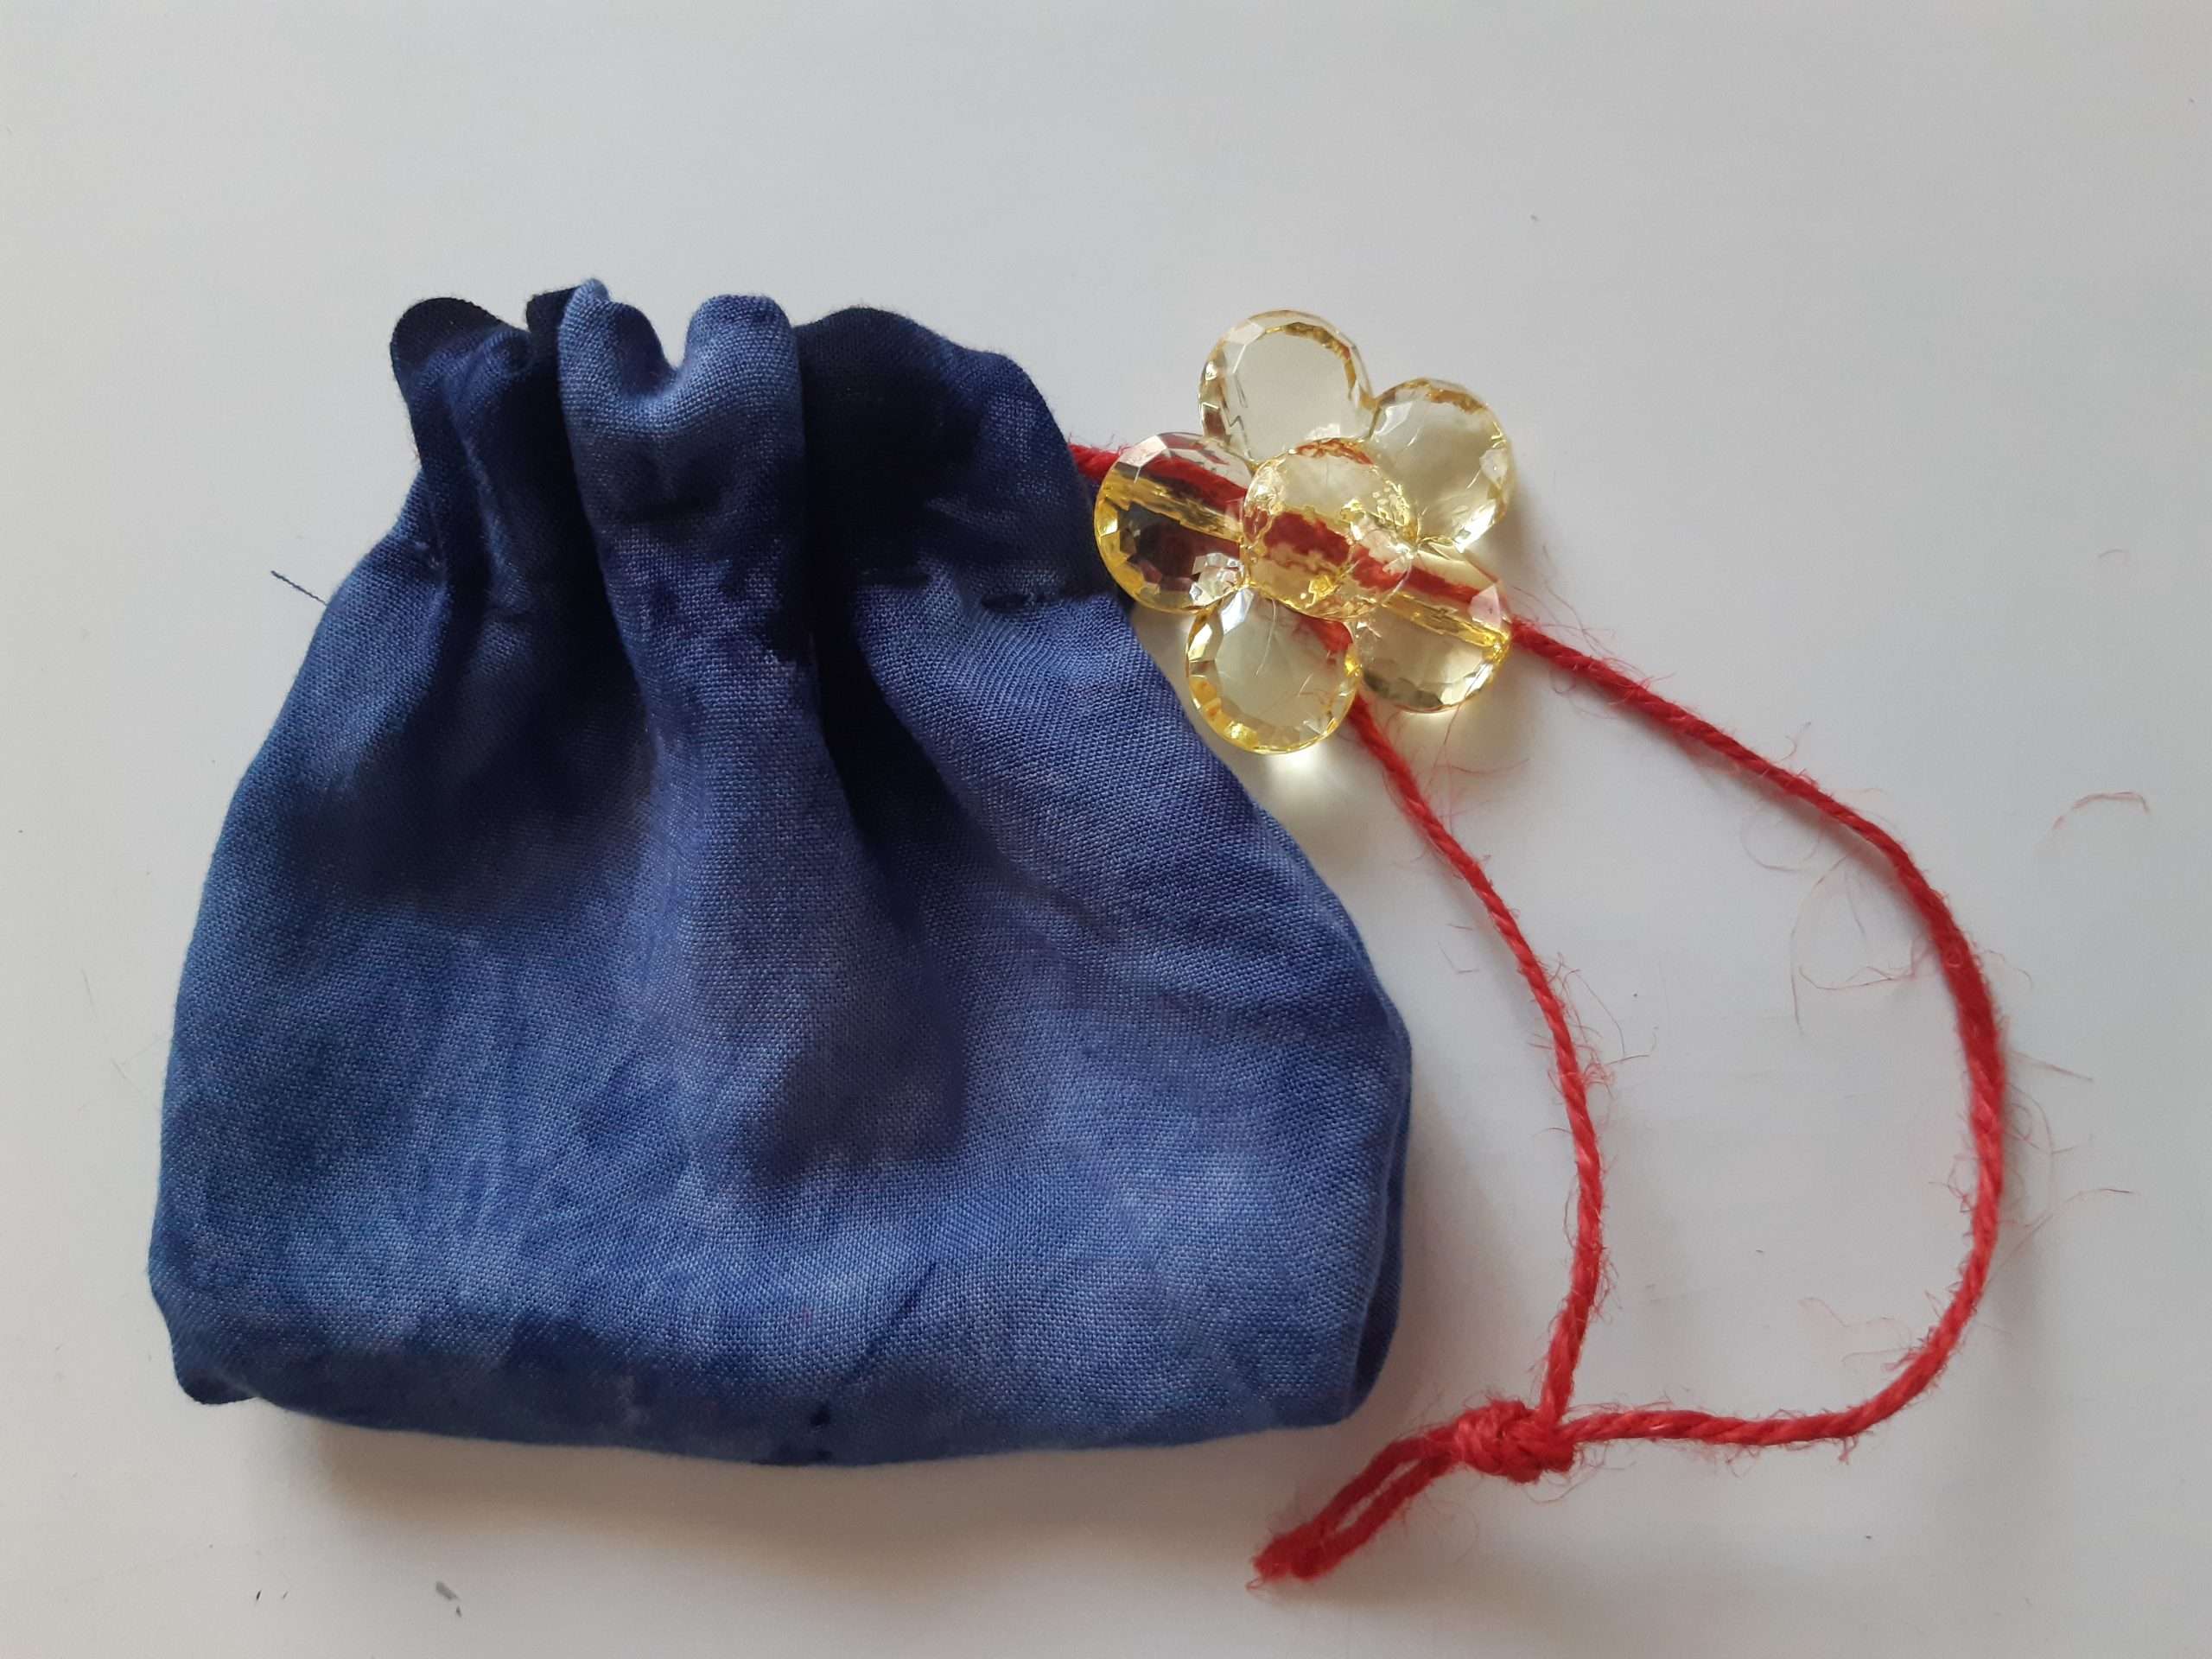
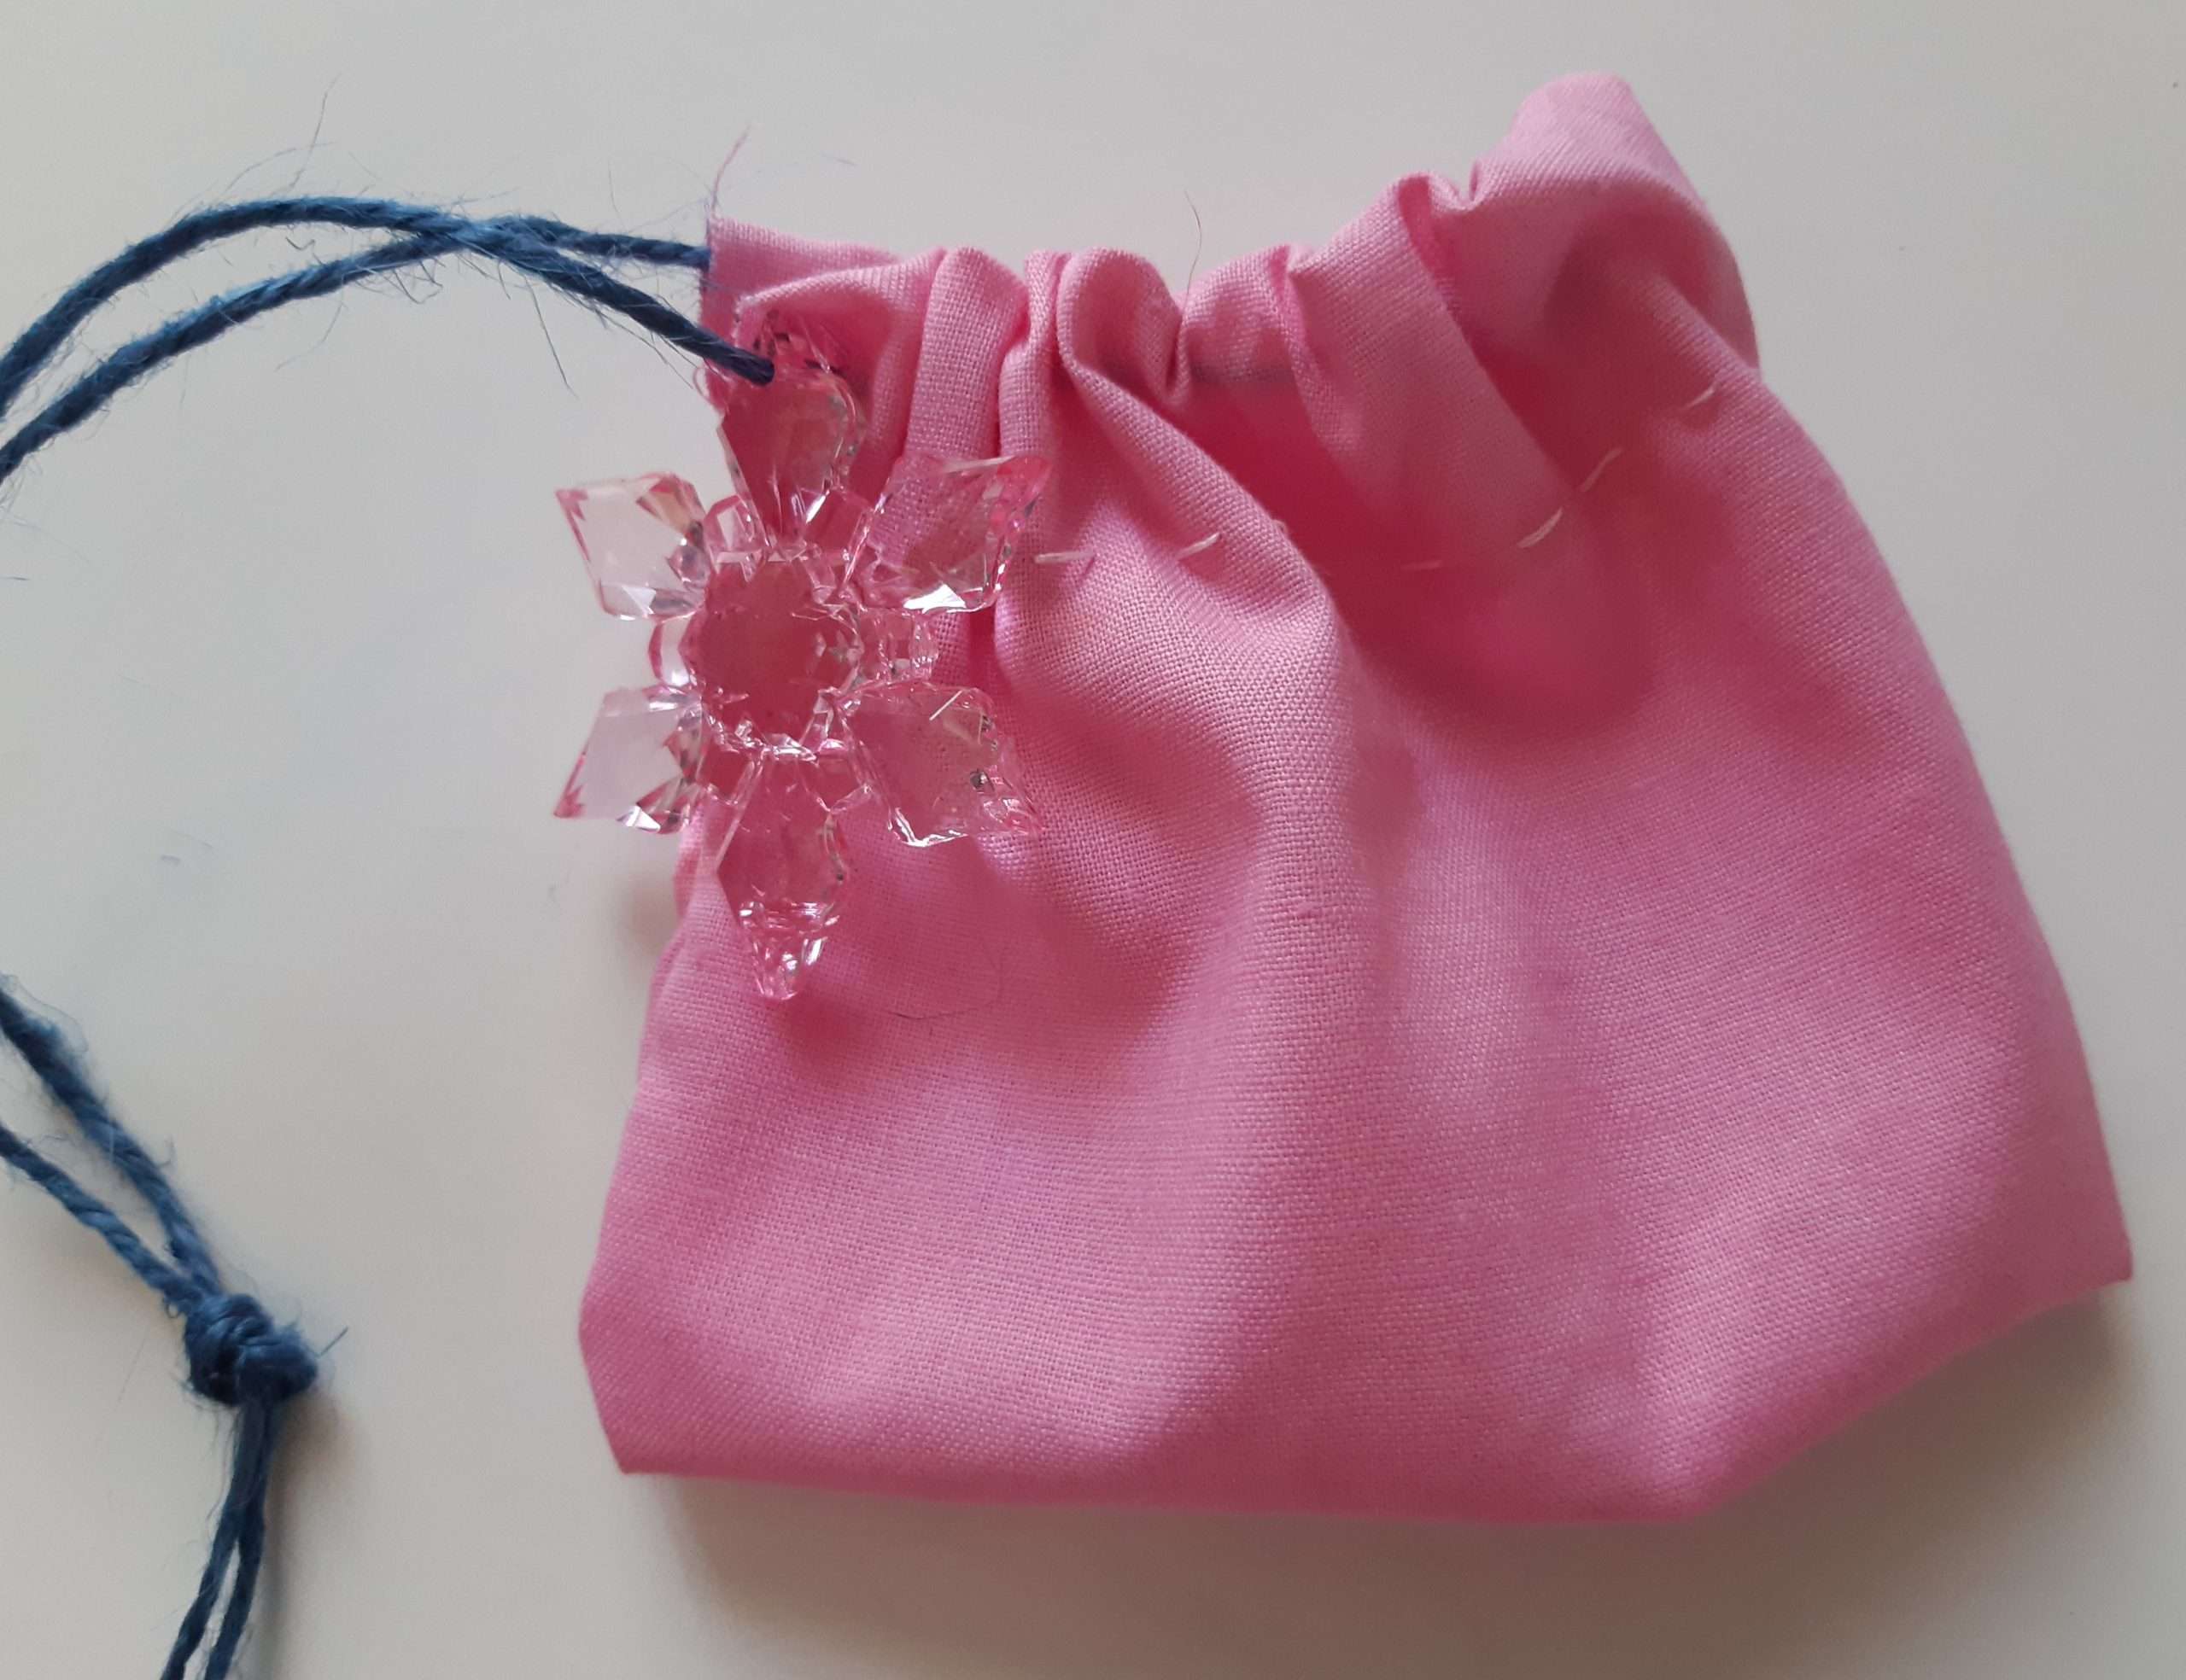
Now to insert the string into the draw-string hole all the way round the bag, cut a piece of string about 2 – 3 feet long (depending on the width of your bag). Again, test the length of the string by mock-placing the string where it should go, with enough room at the end to insert a bead and knot it.
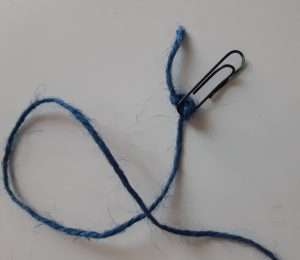
Once you have your string cut, tie it to a paper clip or safety pin and thread it round all the way through the draw-string hole. Lastly, insert a bead on one string, then knot it at the desired length and trim the string if needed.
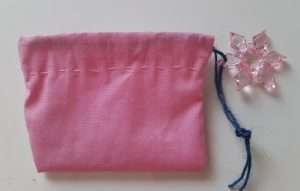
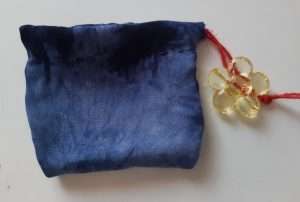
Now your child has his or her very own creation. Use it to store marbles, hair accessories, make up, doll shoes and other small items.
If you would like to start this sewing project but do not know where to begin, I have left you a few short tips below.
Tips for beginner kids sewing
To prepare beginner kids for sewing:
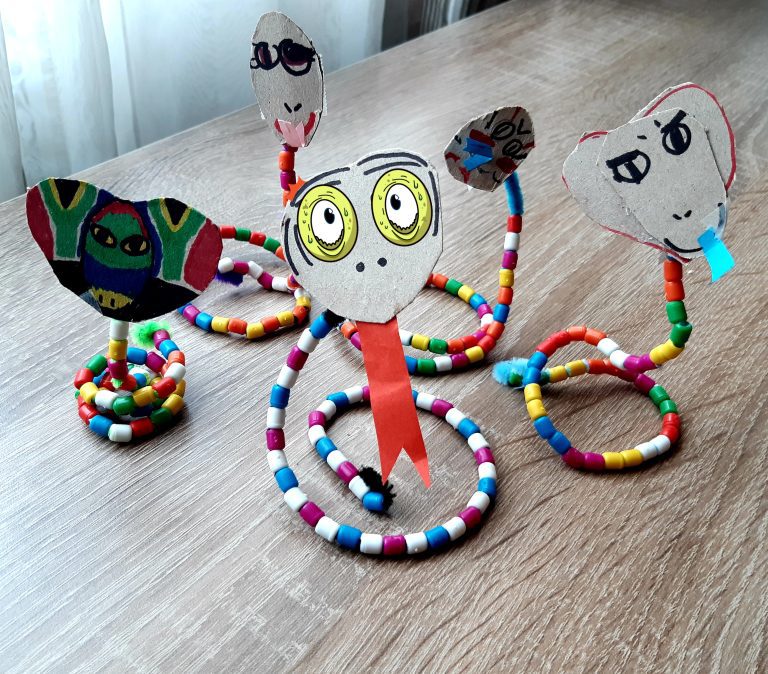
1. thread string into punched holes in cardboard
2. thread string and pipe cleaners into a sieved bowl
3. practise the running stitch on a piece of material
without actually sewing pieces together
4. use thicker thread and needles with material such as
felt fabric
5. break up a sewing project into bite size activities,
spacing it over a few days
6. do it with them! They learn by what they see.
7. Do not do everything for them, but let them attempt
it as much as possible with all the imperfections,
IT'S OKAY!
7. practise. After every project they will improve and
grow more confident!
8. make scrap material and tools accessible so they can
freely initiate their own creations